Using serial over USB to print messages from the Pico.
C Interface
#include "pico/stdlib.h"

// Initialise the Standard I/O interface.
stdio_init_all();

// Print a formatted string
stdio_printf(const char* format, ...);
Instructions
You can use a USB serial monitor program to trace output logs from the Pico. This is useful to print out some basic debugging information or to get some external input.
In the C code, you need to add the following function call to your main() function, to turn on the serial communication:
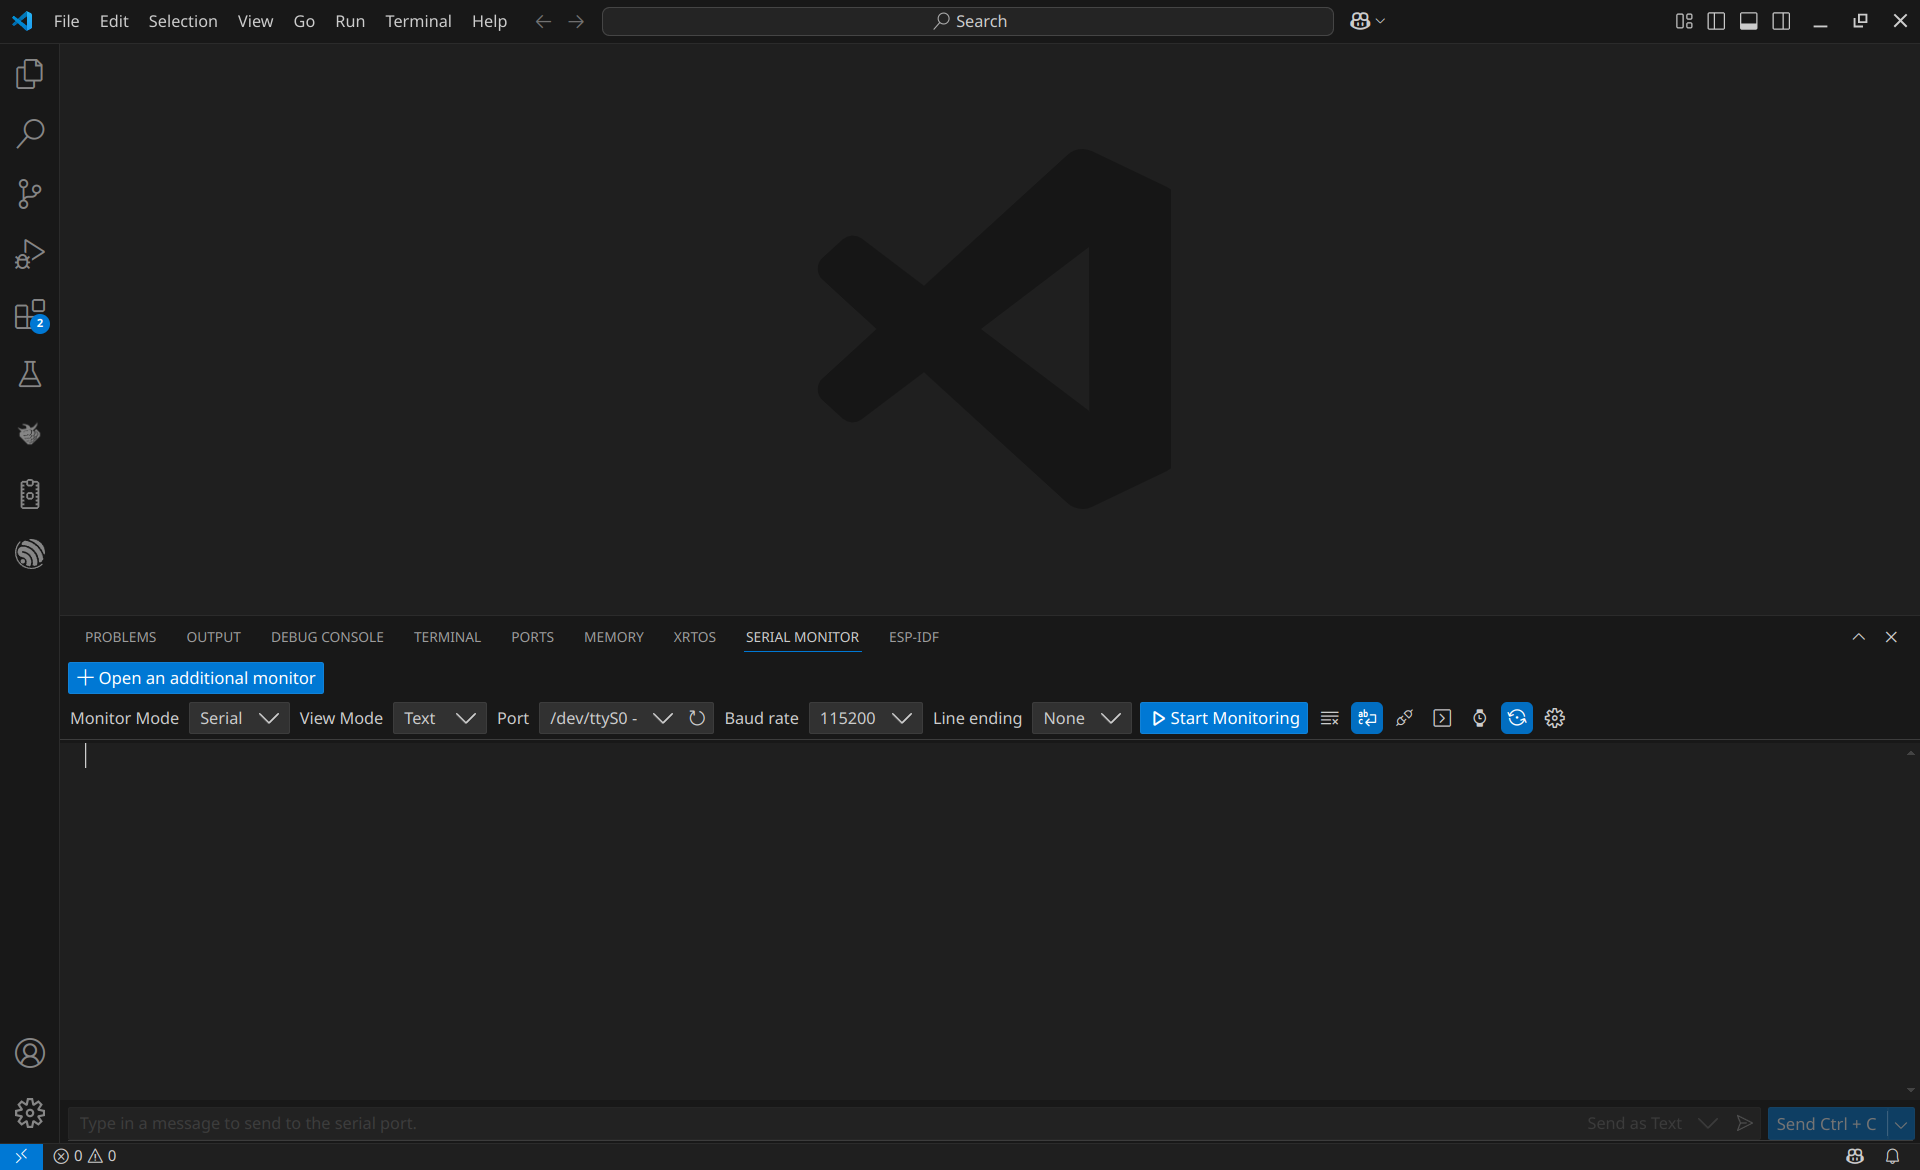
stdio_init_all();VSCode has a built-in serial monitor, you can find it as one of the tabs in the “Terminal”:

Other serial monitor programs are:
- PuTTY (Windows)
minicom(Linux, macOS)
Build and upload the serial-monitor program, connect the serial port and then reset the Pico. You should see a message appear in the log.
- On Linux/macOS, the serial port is
/dev/ttyACM0 - On Windows, the serial port will be called
COM*where * is a number.
Serial Input
The serial monitor can also be used to send inputs to the Pico over USB. Open the serial-monitor-input.cpp file to see how to do this.
A helper function has been written to make the process easier.
size_t gets_s(char* string, size_t string_size);The code in serial-monitor-input.cpp asks the user for a password, then prints a message depending on whether it is correct or not.
Exercise
Can you make a short quiz using the serial input and output?
Print a message to ask a question, and then when the user gives an answer, print out “Correct” or “Incorrect”.
Hint: use the
strcmpfunction to check if strings are equal.