Using MicroPython to run Python code on the Pico.
Documentation
Read https://datasheets.raspberrypi.com/pico/raspberry-pi-pico-python-sdk.pdf
Setup
Loading Python code onto the Pico works a bit differently to C and C++. This is because Python is an interpreted language, meaning there is a program that runs on the Pico that reads our Python code and decides what to do.
Download the MicroPython interpreter here: https://micropython.org/download/RPI_PICO2_W/
Upload the .uf2 file with the Pico in BOOTSEL mode.
Using MicroPython
You interact with MicroPython over a USB Serial connection. Use the same method we used earlier for Serial Montitor.
When you connect, you are put into the Read Evaluate Print Loop (REPL), which is an interactive environment where you can type Python code. Try printing a message:
print("Hello EEESAU!")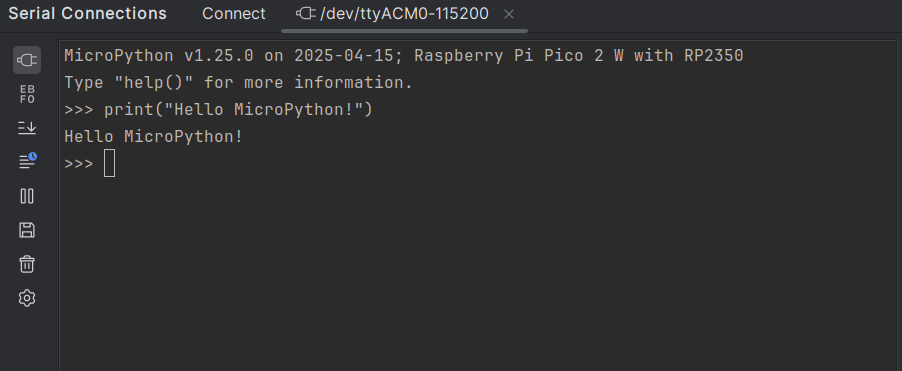
Try blinking the LED from the REPL:
>>> from machine import Pin
>>> led = Pin("LED", Pin.OUT)

>>> led.value(1)

>>> led.value(0)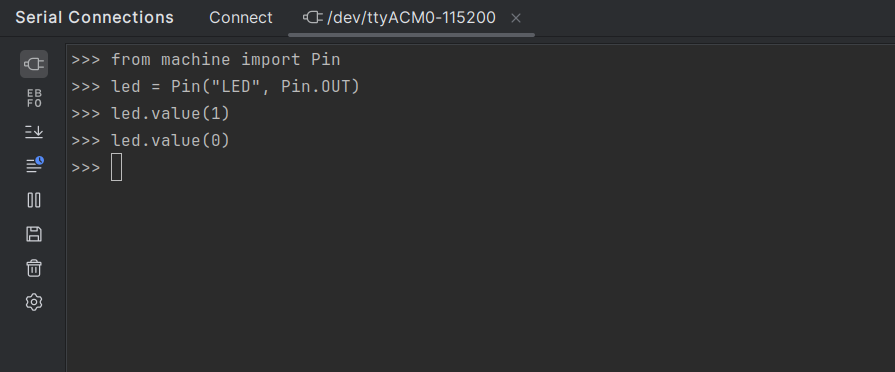
All of the features of the C SDK are available in Python, so you could do this whole workshop in Python if you wanted to.
The REPL has some very nice features, such as tab completion. But if you want to edit and run whole files, it is not enough.
MicroPython and VSCode
Install the MicroPico extension for VSCode.
Once the extension is installed, press Ctrl+Shift+P and type “Initialise MicroPico Project” to setup MicroPico.
Open micropython.py and press “Run” in the bottom left of the screen.
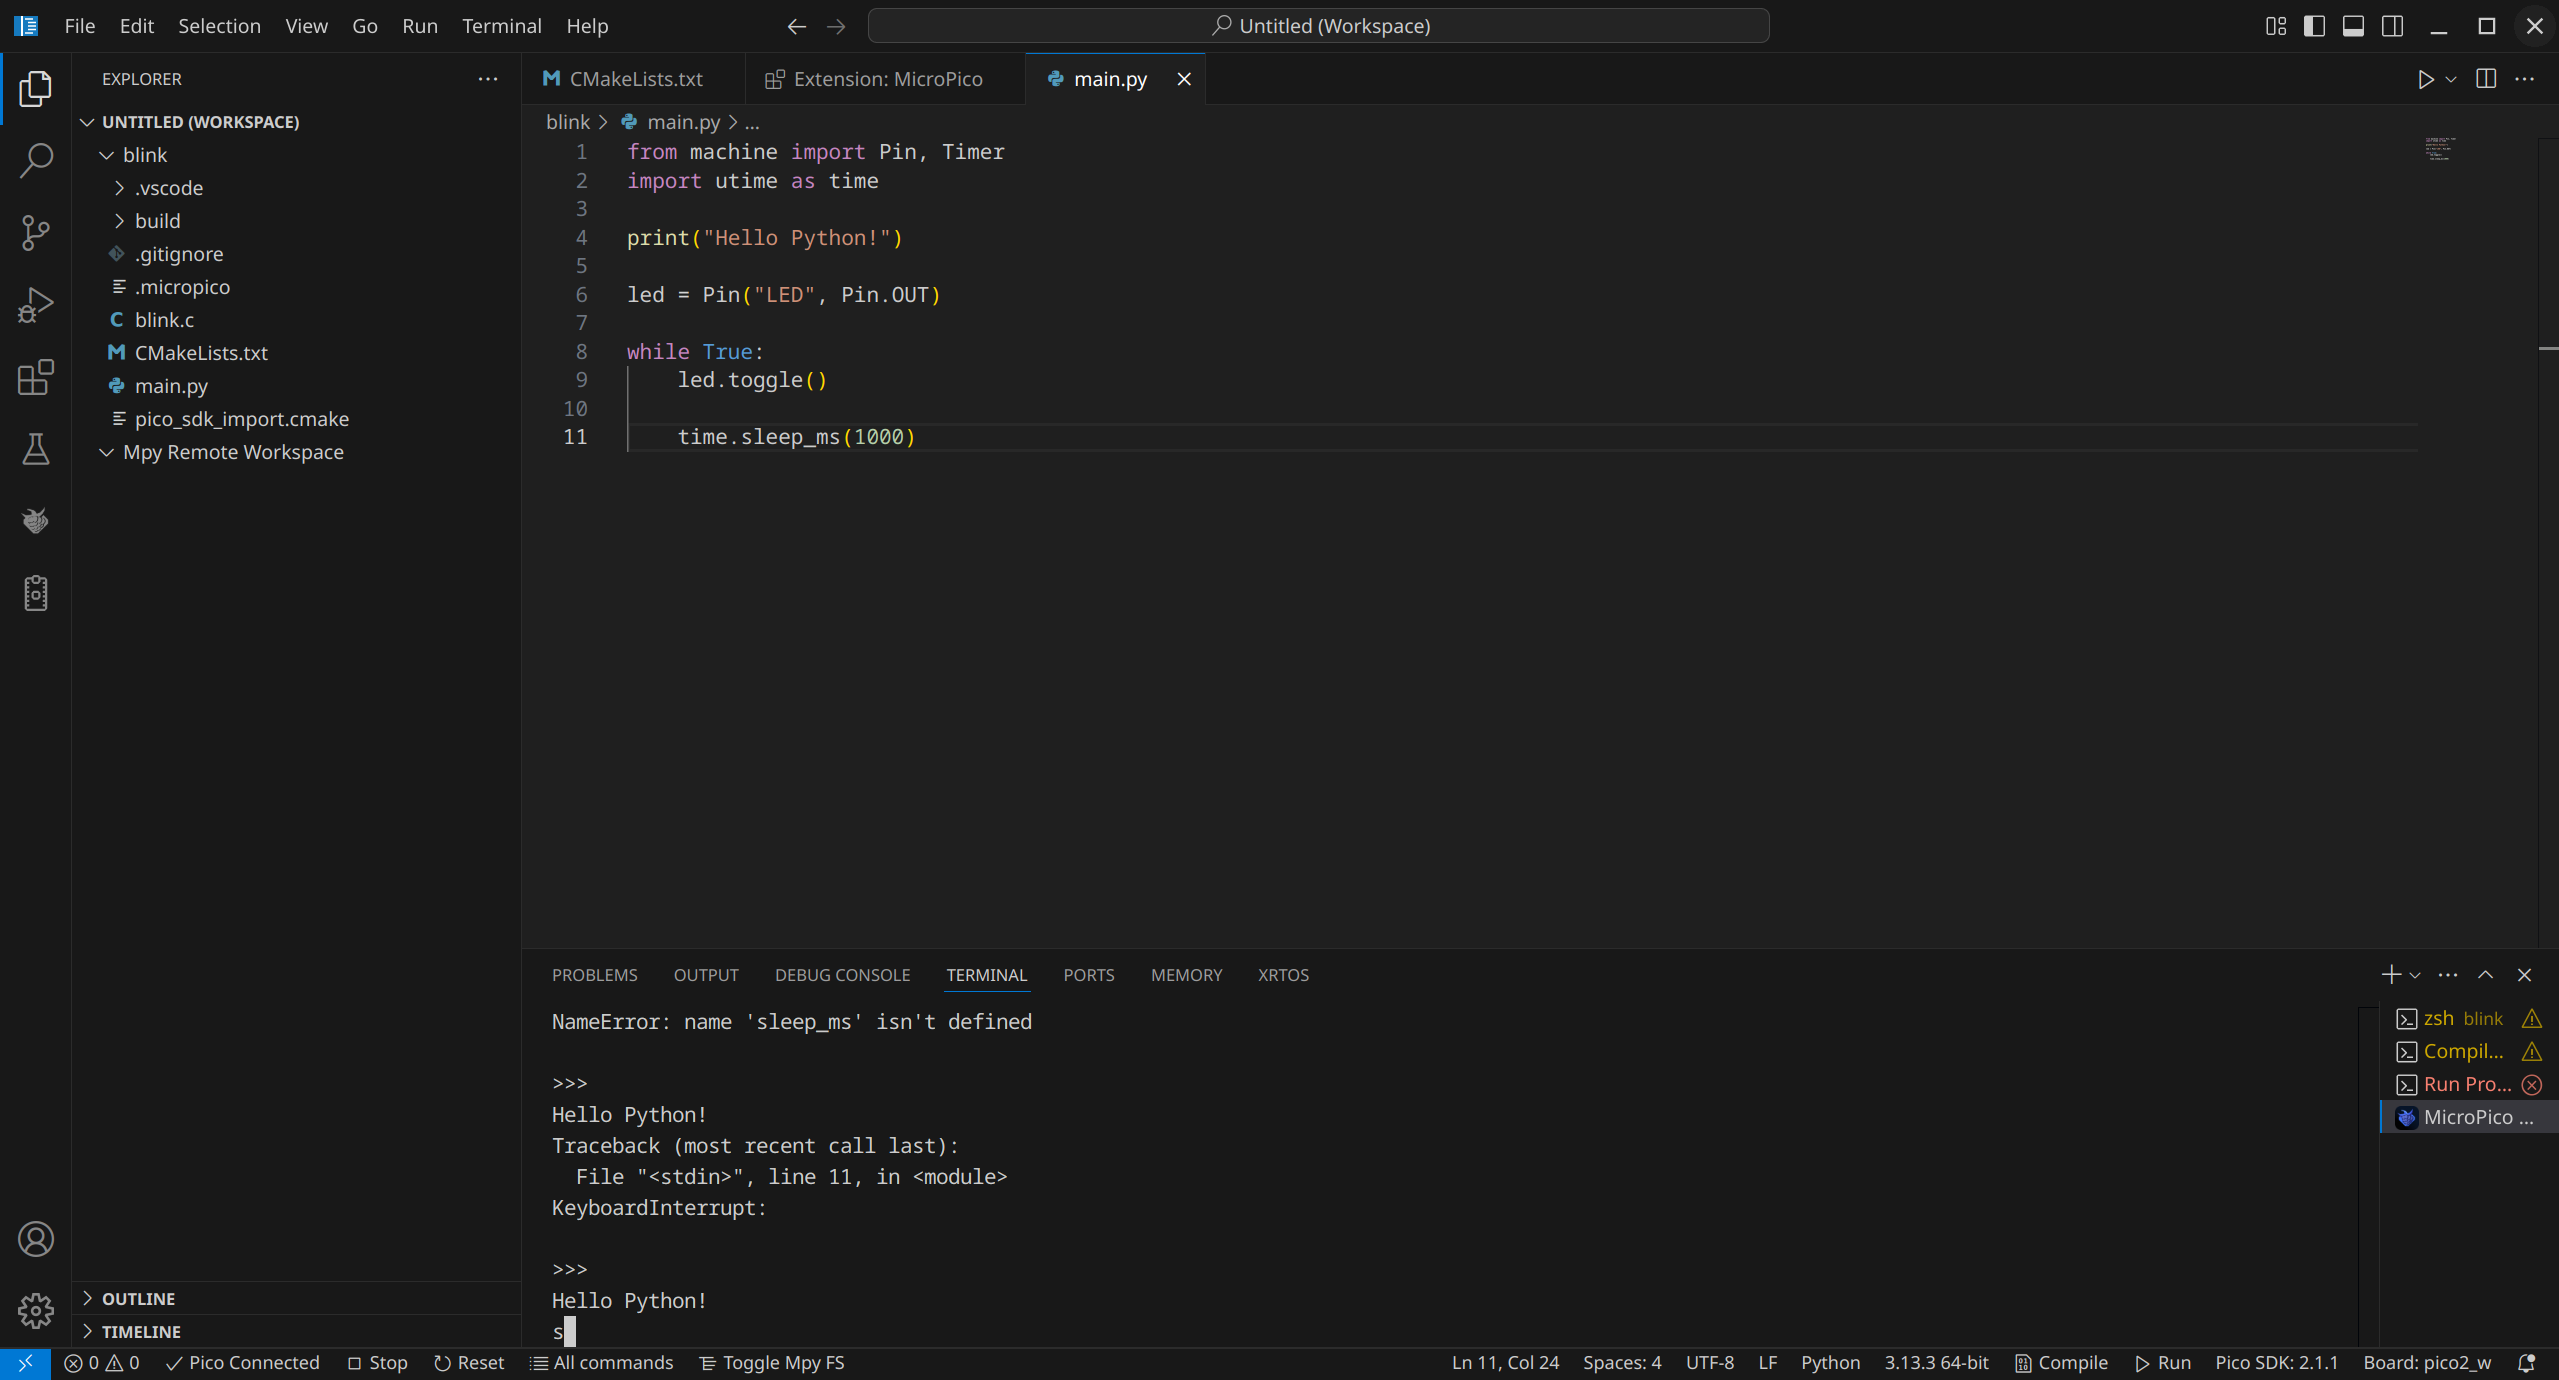
A message will print in the terminal, and the LED will flash on and off.
Exercise
Exercise
Go back over some of the previous modules and try and do them again in Python.
Hint: Use the documentation.